Quick start for using Kubernetes API Gateway with Argo Rollouts
Let's look at a quick example of how you can use Argo Rollouts to control your Http Routes. In this guide we will see how to use the Rollouts demo with Envoy Gateway as the traffic provider.
You can find more examples at the provider status page.
Prerequisites
Get access to a Kubernetes cluster. You can use a cluster on the cloud or on your workstation like k3s, k3d or Docker for Desktop.
Then make sure you also install:
- Argo Rollouts along with the Gateway plugin
- The helm and kubectl executables
- The Argo Rollouts CLI
In a real production scenario, different people will build different parts of the solution. In this guide you will wear multiple hats, so the process might seem more complicated than it actually is.
Step 1 - Install the Gateway Provider
Note
This process needs to happen only once per cluster. The task is normally handled by infrastructure operators.
Install Envoy Gateway with Helm:
helm install eg oci://docker.io/envoyproxy/gateway-helm --version v1.7.2 -n envoy-gateway-system --create-namespace
Wait for it to become ready
kubectl wait --timeout=5m -n envoy-gateway-system deployment/envoy-gateway --for=condition=Available
Step 2 - Create a gateway
Note
This process needs to happen only once per cluster. The task is normally handled by infrastructure operators.
Create a Gateway
---
apiVersion: gateway.networking.k8s.io/v1
kind: GatewayClass
metadata:
  name: eg
spec:
  controllerName: gateway.envoyproxy.io/gatewayclass-controller
---
apiVersion: gateway.networking.k8s.io/v1
kind: Gateway
metadata:
  name: eg
  namespace: default
spec:
  gatewayClassName: eg
  listeners:
    - name: http
      protocol: HTTP
      port: 80
kubectl get gatewayclass
kubectl get gateway
Note down the ADDRESS IP to use later in the application. For a local cluster this should be 127.0.0.1
Step 3 - Allow Argo Rollouts to edit Http Routes
Note
This process needs to happen only once per cluster. The task is normally handled by infrastructure operators.
Create a role and binding.
---
apiVersion: rbac.authorization.k8s.io/v1
kind: ClusterRole
metadata:
  name: gateway-controller-role
rules:
  - apiGroups:
      - gateway.networking.k8s.io
    resources:
      - httproutes
    verbs:
      - get
      - patch
      - update
---
apiVersion: rbac.authorization.k8s.io/v1
kind: ClusterRoleBinding
metadata:
  name: gateway-admin
roleRef:
  apiGroup: rbac.authorization.k8s.io
  kind: ClusterRole
  name: gateway-controller-role
subjects:
  - namespace: argo-rollouts
    kind: ServiceAccount
    name: argo-rollouts
Apply the file with kubectl. More information on permissions can be found on the installation guide.
Step 4 - Create an HTTP route
Note
This process needs to happen only once per application. The task is normally handled by cluster operators or application developers.
Create a route that has as backend two services (stable and canary)
---
kind: HTTPRoute
apiVersion: gateway.networking.k8s.io/v1
metadata:
  name: argo-rollouts-http-route
  namespace: default
spec:
  parentRefs:
    - name: eg
  rules:
  - matches:
    - path:
        type: PathPrefix
        value: /
    backendRefs:
    - name: argo-rollouts-stable-service
      kind: Service
      port: 80
    - name: argo-rollouts-canary-service
      kind: Service
      port: 80
Apply the file with kubectl.
Verify it with kubectl get httproutes
Step 5 - Create a Rollout
Note
This process needs to happen only once per application. The task is normally handled by cluster operators or application developers.
Create two Kubernetes services
---
apiVersion: v1
kind: Service
metadata:
  name: argo-rollouts-stable-service
  namespace: default
spec:
  ports:
    - port: 80
      targetPort: http
      protocol: TCP
      name: http
  selector:
    app: rollouts-demo
---
apiVersion: v1
kind: Service
metadata:
  name: argo-rollouts-canary-service
  namespace: default
spec:
  ports:
    - port: 80
      targetPort: http
      protocol: TCP
      name: http
  selector:
    app: rollouts-demo
Apply the file with kubectl.
Finally create the Rollout:
apiVersion: argoproj.io/v1alpha1
kind: Rollout
metadata:
  name: rollouts-demo
  namespace: default
spec:
  replicas: 10
  strategy:
    canary:
      canaryService: argo-rollouts-canary-service # our created canary service
      stableService: argo-rollouts-stable-service # our created stable service
      trafficRouting:
        plugins:
          argoproj-labs/gatewayAPI:
            httpRoute: argo-rollouts-http-route # our created httproute
            namespace: default # Optional: defaults to rollout namespace
            # Optional: customize or disable the temporary label that marks routes as managed during a canary
            # inProgressLabelKey: rollouts.argoproj.io/gatewayapi-canary
            # inProgressLabelValue: in-progress
            # disableInProgressLabel: false
      steps:
      - setWeight: 50
      - pause: {}
      - setWeight: 100
      - pause: {}
  revisionHistoryLimit: 2
  selector:
    matchLabels:
      app: rollouts-demo
  template:
    metadata:
      labels:
        app: rollouts-demo
    spec:
      containers:
        - name: rollouts-demo
          image: argoproj/rollouts-demo:blue
          ports:
            - name: http
              containerPort: 8080
              protocol: TCP
          resources:
            requests:
              memory: 32Mi
              cpu: 5m
Wait for the application to be ready and then visit in your browser localhost, or 127.0.0.1 or whatever is the IP of your Gateway.
You should see that all requests return with blue color:

Daily Task - Perform a Canary
Note
This process happens multiple times per day/week. The task is normally handled by application developers.
We are ready to deploy a new version. Open your rollout yaml change the image to argoproj/rollouts-demo:yellow and apply the file again with kubectl.
Wait until the canary pod are ready. Run the following to see when the canary has paused.
kubectl argo rollouts get rollout rollouts-demo
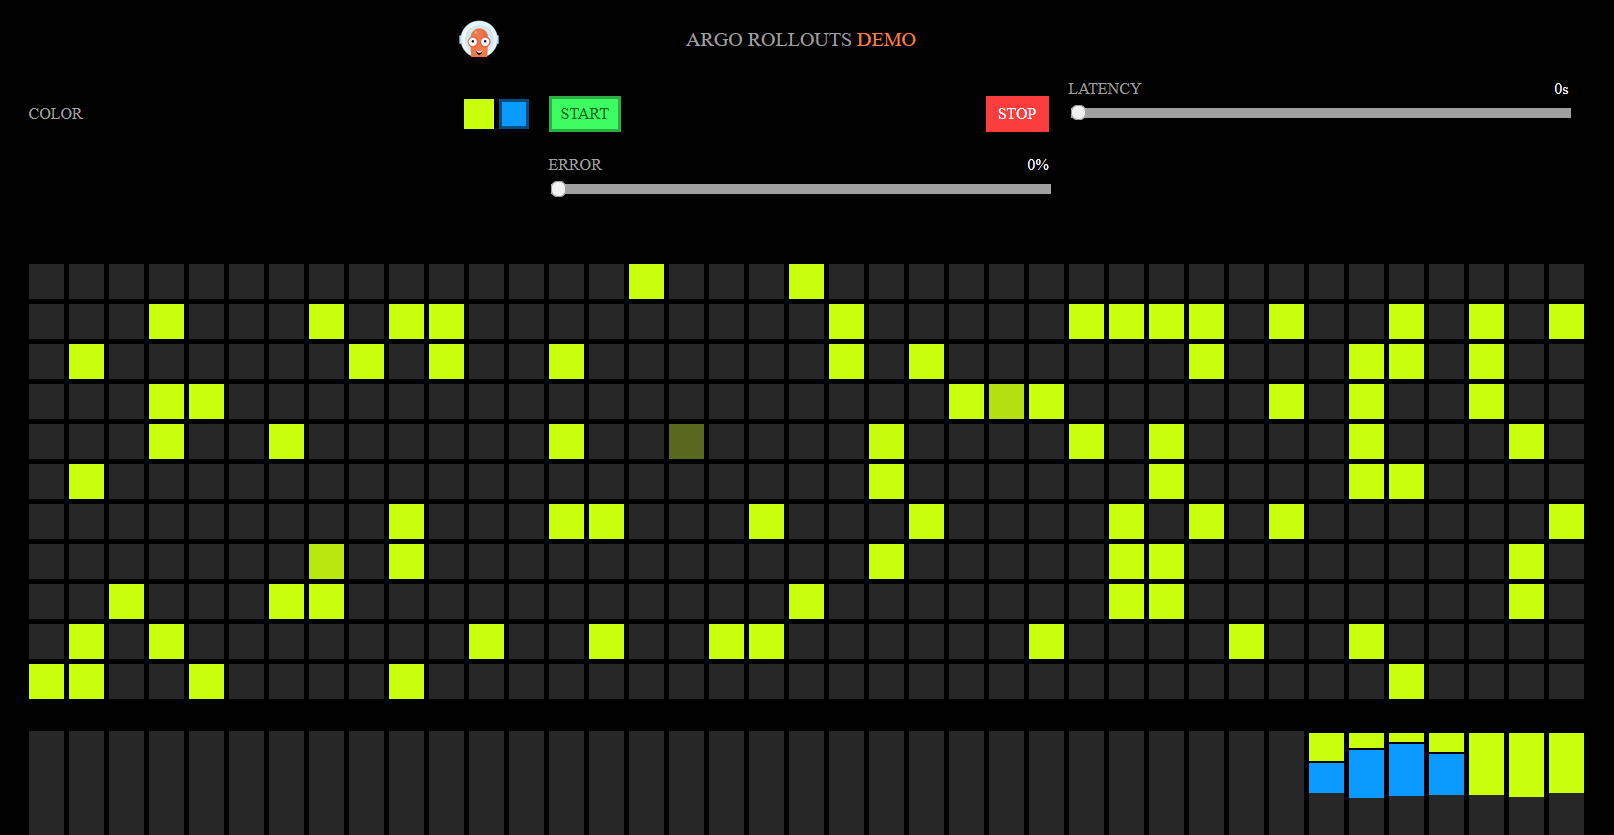
At this point each color should get 50% of requests. You can see this visually in your browser:

You should also inspect the Http Route and verify that Argo Rollouts has changed the weights of the backend services
Run
kubectl get httproute -o yaml
In the response you should see the following information about the weights for each backing service.
Info
While the canary is running, the plugin adds the label rollouts.argoproj.io/gatewayapi-canary=in-progress to every managed
Gateway API route so that GitOps tools such as Argo CD can be configured to ignore those temporary changes. The label is
removed automatically once the stable service goes back to 100% weight. Use disableInProgressLabel, inProgressLabelKey
or inProgressLabelValue if you need to adjust this behaviour.
Argo CD example (Helm chart values)
configs:
  cm:
    resource.customizations.ignoreDifferences.gateway.networking.k8s.io_HTTPRoute: |
      jqPathExpressions:
        - select(.metadata.labels["rollouts.argoproj.io/gatewayapi-canary"] == "in-progress") | .spec.rules
Apply the same snippet to GRPCRoute, TCPRoute and TLSRoute kinds if you manage them. If you configure resource.customizations
directly inside an Application manifest rather than Helm values, reuse the same structure under spec.source.plugin or
spec.source.helm.values.
[...snip...]
  spec:
    parentRefs:
    - group: gateway.networking.k8s.io
      kind: Gateway
      name: eg
    rules:
    - backendRefs:
      - group: ""
        kind: Service
        name: argo-rollouts-stable-service
        port: 80
        weight: 50
      - group: ""
        kind: Service
        name: argo-rollouts-canary-service
        port: 80
        weight: 50
      matches:
      - path:
          type: PathPrefix
          value: /
[...snip...]
Promote the Rollout twice by running the following two times:
kubectl argo rollouts promote rollouts-demo
Wait a bit until the old color pods are completely destroyed. The application should gradually change now to yellow.
The deployment has finished. If you change the Rollout image again, the process will start over.
Feel free to learn more about all Rollout options in the Specification documentation.